Adjusting a Duct Geometry
Shows step-by-step how to adjust or restrict the geometry for selected parts of the duct network.
Before you begin
You want to adjust the geometry of the ducts for selected parts of the duct network due to construction restrictions.
Requirements:
You have already calculated the duct network and have information on structural conditions on site.
Navigate to:
Applies to: Ventilation.
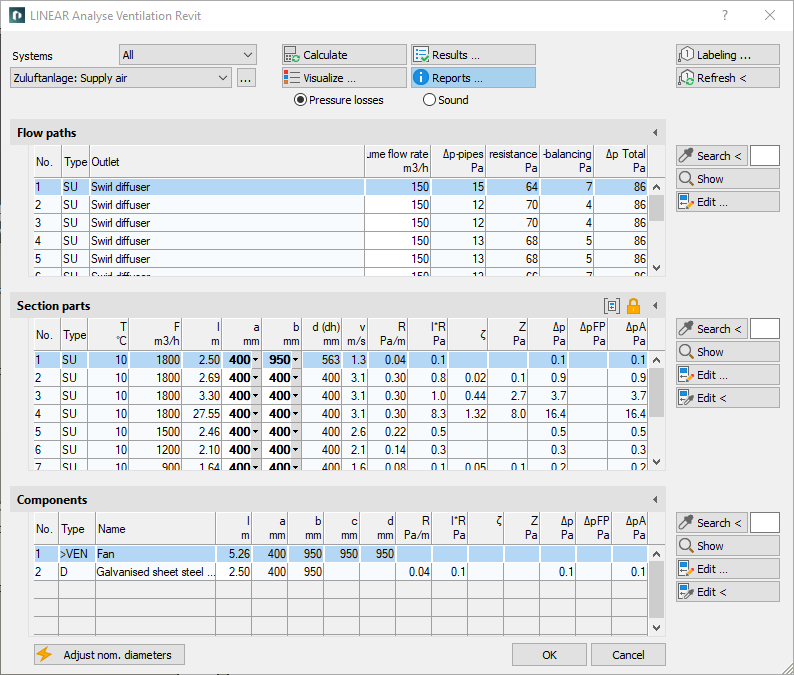
Procedure
- Click Set.... next to the table of the area Section parts.
The dialog Set section parts opens.
- Select which basic geometry the duct should have in the dimensioning. Depending on the selected option, the drop-down lists for Width, Height and Diameter are released.
- Select the desired values from the drop-down lists for Width, Height and Diameter. You can also enter customized value.
- If you want to specify fixed instead of maximum values, activate the checkbox behind the Width, Height and Diameter options.
- Click Assign <. The dialog dialog is hidden and instructions on how to proceed are displayed.
- Select all sections to which you want to apply the settings made and confirm the selection with Enter.
Results
The settings are saved and taken into account in the next calculation of the duct network.