Classifying Components
Shows step-by-step how to classify components in order to assign the components a calculation type for the Pipe and Air Duct Network Calculation.
Before you begin
You have unclassified components in the pipe or duct network and would like to assign the appropriate calculation types to them so that the components take over the desired function in the calculation.
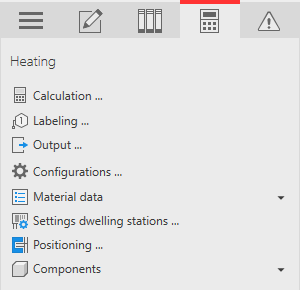
Navigate to:
Applies to: Heating, Potable water, Waste water, Ventilation, Cooling, Gas.
Procedure
- Open the Components section.
- Click Classify ....
- Use the selection window to select all components that you want to classify and confirm with Enter.
The dialog Classify opens. The family types of the selected components are listed in the table. For family types that are still unknown, the entry in the Classify as field is empty.
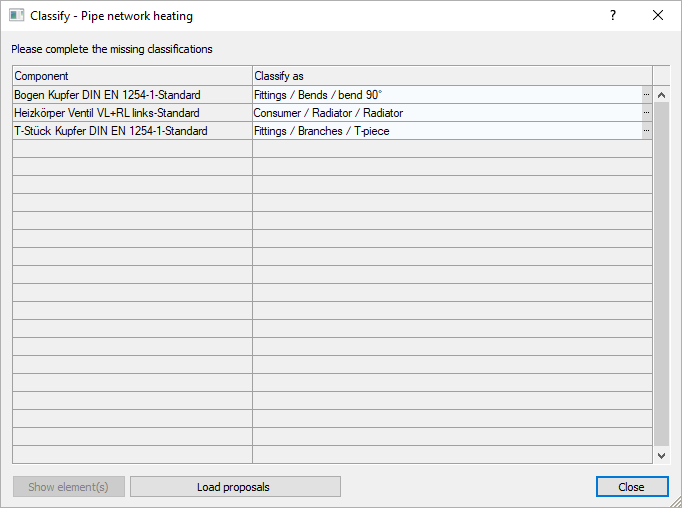
- In the Classify as field, click
 .
. The Classification dialog opens.
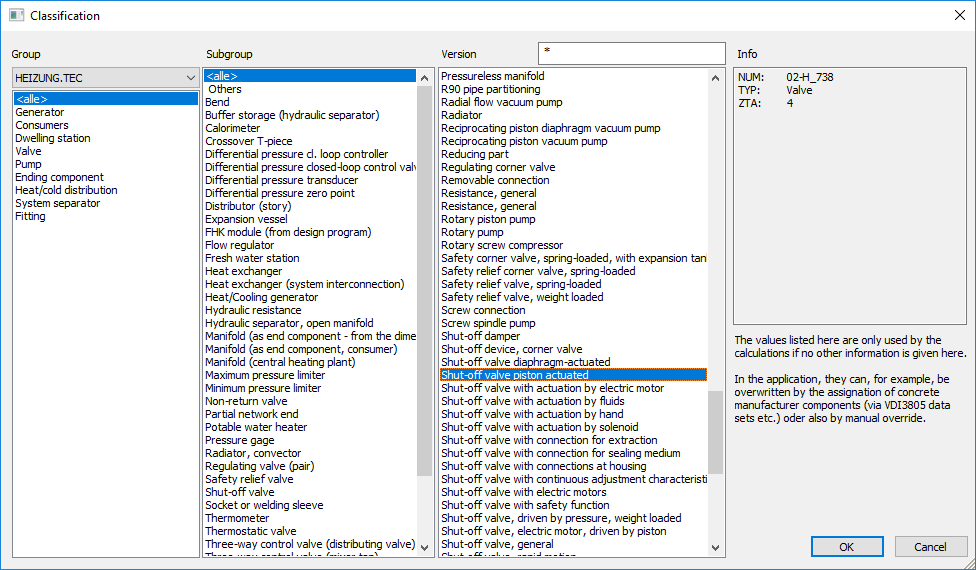
- Select the appropriate component version and confirm with OK.
The subgroup determines the calculation type and thus the default values for the technical data of the component family. The versions are different definitions of the calculation type and may contain different technical data.
- Repeat the process until all component families have been classified.

- Close the Classify dialog with a click on OK. The following query appears:
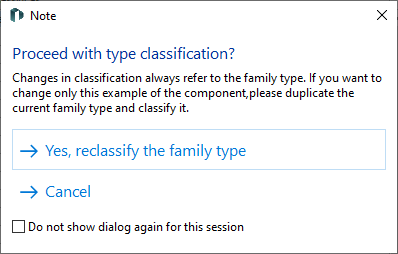
- So select Yes, reclassify family type.
Results
The family types are classified and are used in the pipe or duct network calculation with the assigned function and the technical data of the calculation type or the selected component version.