Selecting Valves for the Whole Project (Global Preselection)
Shows step-by-step how to add valve data to the Global preselection tab of the Valves dialog, which will be used in the calculation for all valves of this type.
Before you begin
Requirement:
You have installed a manufacturer data set that contains suitable valve data or created suitable user-defined data sets.
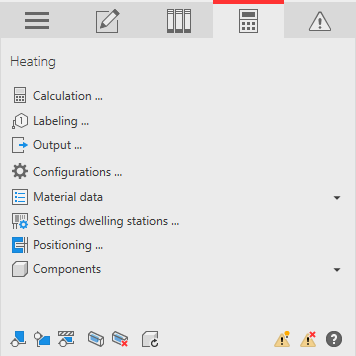
Navigate to:
Applies to: Heating, Cooling, Potable water.
Procedure
- Click Valves in the Material data section.
The Valves dialog opens.
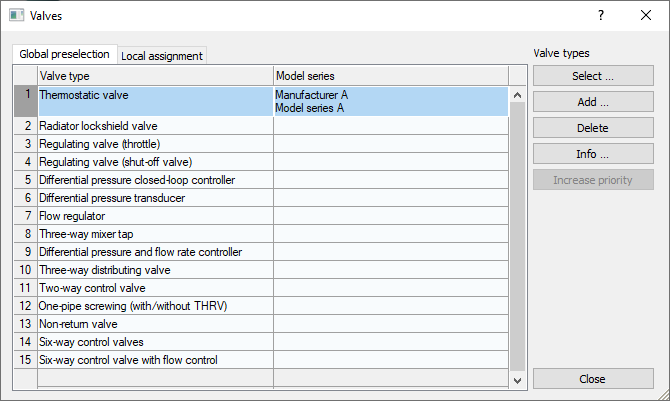
- Open the Global preselection tab.
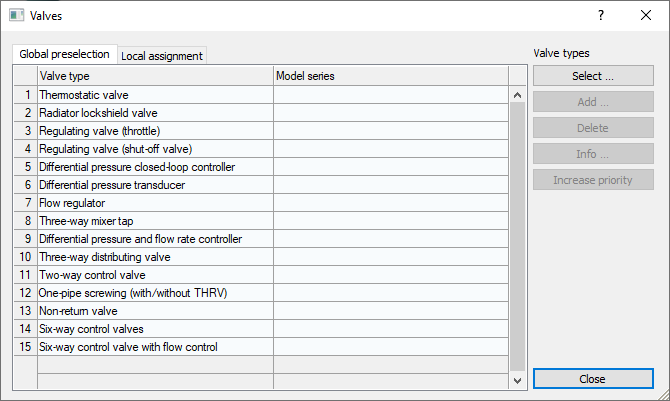
- Select the desired Valve type and click Select ....
The Select valve series dialog opens.
- Select a manufacturer, a kind of valve and, if necessary, a valve type.
The matching valves are listed in the Models/Name section. The filters in the Filter versions and accessories section can be used to further narrow down the selection.
- Select a valve in the Models/Name section.
The table displays the valve data.
- If you want to exclude certain nominal diameters from being used, deactivate the Selection field in the corresponding line.
- Click Apply.
Results
The Select valve series dialog is closed and the selected valve is assigned to the selected valve type in the Valve dialog. The data of the selected valve are used within the calculation for all valves of this type which are contained in the project.