Creating Islands in Construction Areas
Shows step by step how to edit construction areas to construct islands.
Before you begin
You have created a construction area and want to construct an island in which no pipes are to be laid.
Requirement:
Construction areas have already been created.
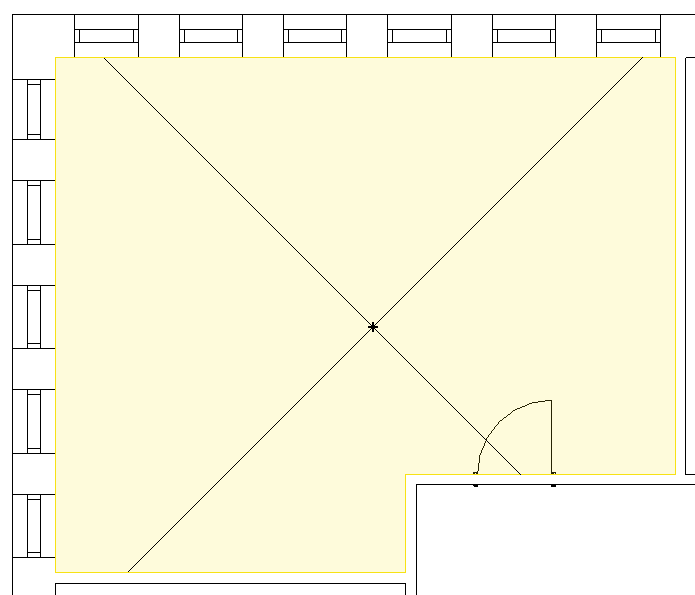
Navigate to:
Tip:
If there are already panel heating circuits or panel cooling circuits on the construction areas, these can be re-laid after editing the construction area. They do not have to be deleted before.
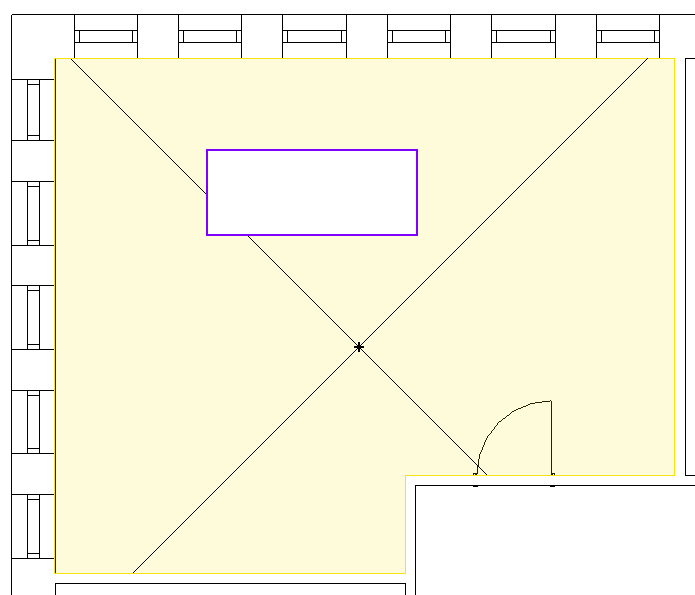
Initial situation:
Procedure
- Open the Construction areas section.
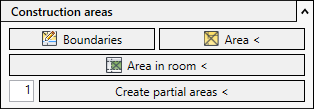
- Click Boundaries.
The Revit menu displays the Modify | Place Area Boundary tab and the Draw section.
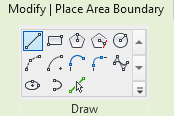
- Use the Revit drawing functions to construct the area boundary, such as a
 Rectangular. The area boundary must be closed.
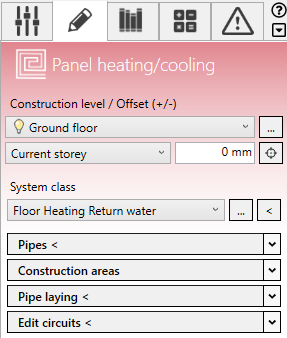
Results
The construction area is adapted to the new area boundary. When using the Pipe laying < function, the island is left out.