Placing Fixings with Insertion Rails
Shows step-by-step how to fix pipes with insertion rails.
Before you begin
You would like to fix pipes with insertion rails.
Requirements:
-
The components to be fixed and the components where the fixing is to be placed are available.
-
The components to be fixed are constructed in parallel.
Navigate to:
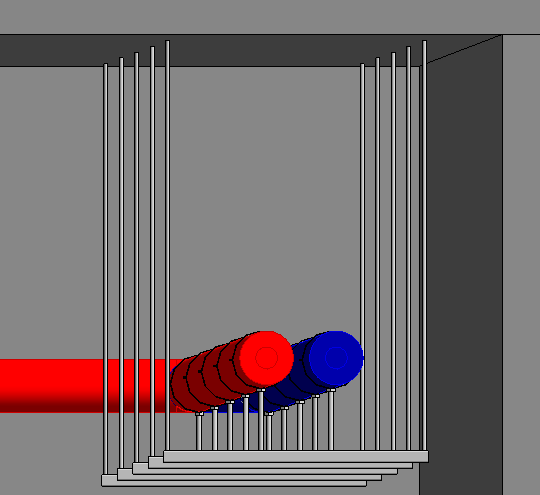
Initial situation:
Procedure
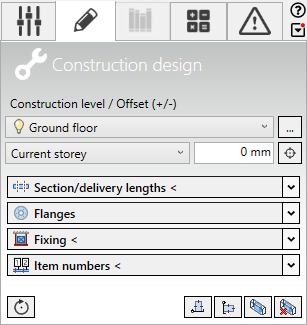
- Open the section Fixing <.
- Select Insertion rails as the product and specify the model and type.
- Select the placement mode in line.
- Optional: Adjust the distance, the additional width and the additional height.
- Optional: Activate distribute symmetrically.
- Click Fixing < and follow the instructions.
The insertion rails are placed.

- Select the desired fixing and activate the placement mode on bracket/insertion rail.
- Click Fixing < and follow the instructions.
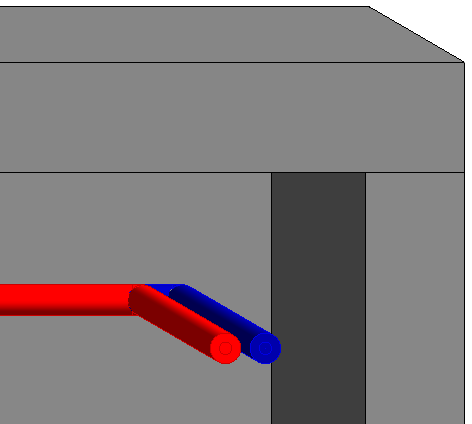
Results
The pipes are fixed to the insertion rails.