Details on Working Sections and 3D Selection Boxes
Information on the Working sections and 3D selection boxes buttons.
Create temporary working sections and 3D sections to take a closer look at spatial situations in the project and for better construction. You can use the horizontal and vertical working section, the working section in front of a wall and the 3D selection frame for this purpose.
You are here:

General
The horizontal and vertical working section and the working section in front of a wall are created in the floor plan. The 3D selection frame can be created in a floor plan view, 3D view or section view.
Hereby, temporary section views or 3D views are created, which are overwritten when the same function is used again. To save working sections permanently in the project, change the name of the view after selecting the list item Section views from the drop-down list. The working sections can be controlled by the Revit View control functions (Scale, Detail Level, Visual Style, etc.).
 Horizontal working section,
  Vertical working section,
  Working section in front of wall
Use a selection frame to select the area to be displayed in the section. With the first mouse click (1) you define the position of the cutting line (red). Where you release the mouse button (2), you define the section width, section depth and view direction.
Alternatively, the command Working section in front of wall places a section in front of the selected wall after selecting a wall surface. The viewing direction is aligned with the wall and the section width corresponds to the width of the room; for exterior surfaces, the selected wall is displayed in full width. For non-rectangular room geometries, the section width may have to be changed manually to the desired width. The distance between the section line and the wall axis is always 1 m and can be adjusted if necessary.
With the horizontal working section, a temporary section view with the designation HS is created; with the vertical working section, the designation VS is used. The temporary section in front of a wall is created with the designation WS. The height of the section area corresponds to the height of the current storey.
| Cutting position | Section view |
|---|---|
| Horizontal working section 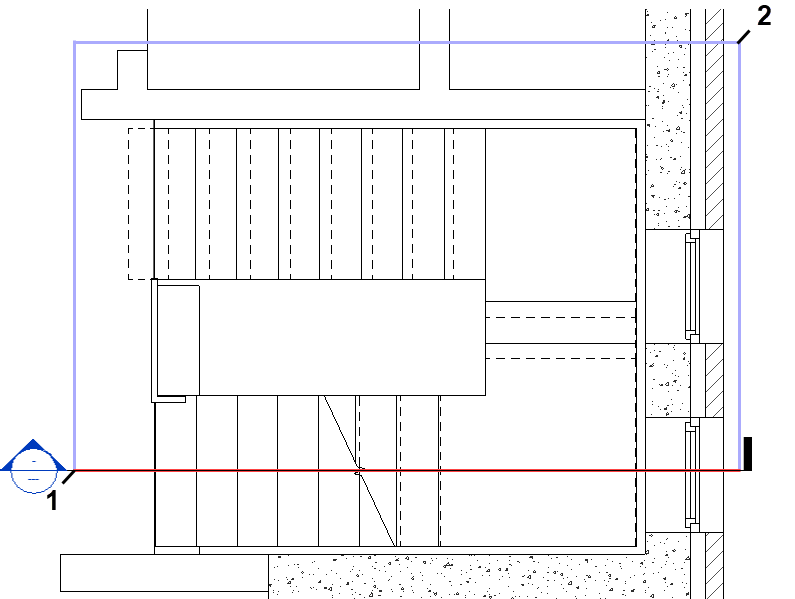 | Horizontal working section  |
| Vertical working section 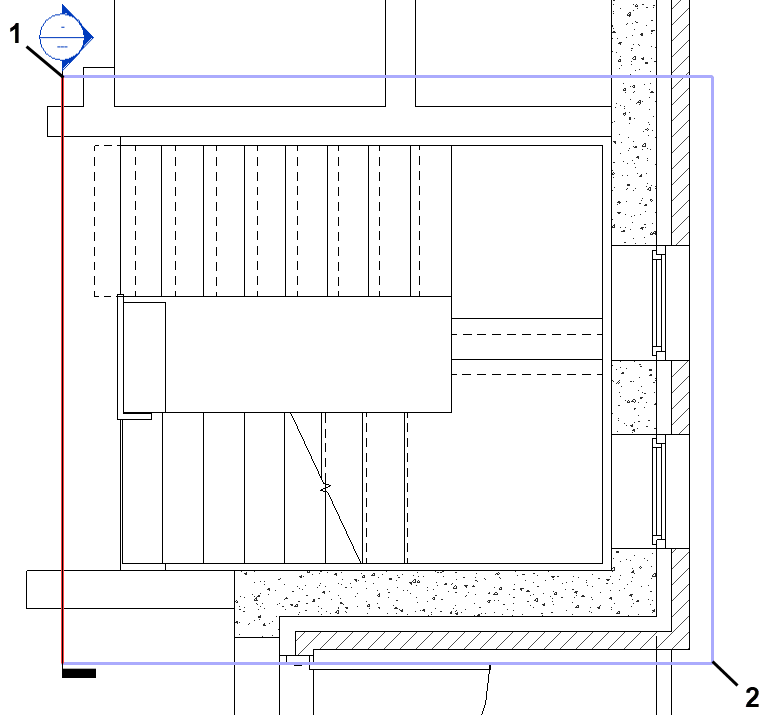 | Vertical working section  |
3D Selection box
Use a selection frame to select the elements to be displayed in a 3D section. A temporary 3D view named 3D is created. The height of the 3D section area corresponds to the height of highest selected element.
| Selection | Section view |
|---|---|
 |  |
 Remove 3D Selection box
Removes the 3D section of a 3D view and makes the entire model visible again.
| Before | After |
|---|---|
| |  |