Placing Void Proposals Semi-automatically
Shows step-by-step how to semi-automatically place void proposals.
Before you begin
You want to place void proposals semi-automatically and thus resolve collisions between pipe and duct networks and walls or ceilings. In semi-automatic mode, the lateral distance of a void proposal is indicated and the dimensions are automatically determined from the pipe or duct.
Requirement:
All relevant disciplines are displayed via the view control.
Navigate to:

Procedure
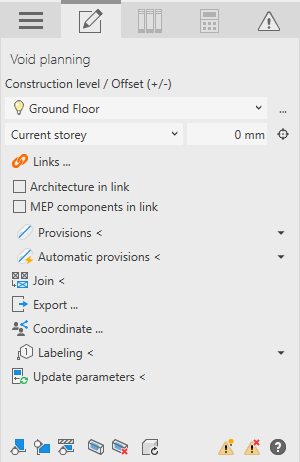
- If the architecture or MEP components are in a linked file, select Architecture in link or MEP components in link.
- Open the Provision section.

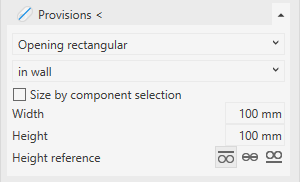
- Select the void type and the placement of the void.
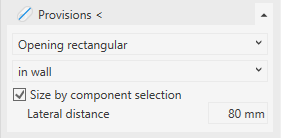
- Activate Size by component selection.

- Enter the lateral distance.
The lateral distance is the distance between the pipe or duct and the inner edge of the opening.
Note: The setting Round up placeholder dimensions in the Options dialog () results in the lateral distances generated in the model being larger than the lateral distance specified here, because the calculated dimensions of the breakthrough proposal have been rounded up according to the setting. This applies to all placeholders where lateral spaces are specified. - Click Provisions < and follow the displayed instructions.
Results
The void proposal is placed.
