Creating Rainfall Rate for a User-defined Location in the Project
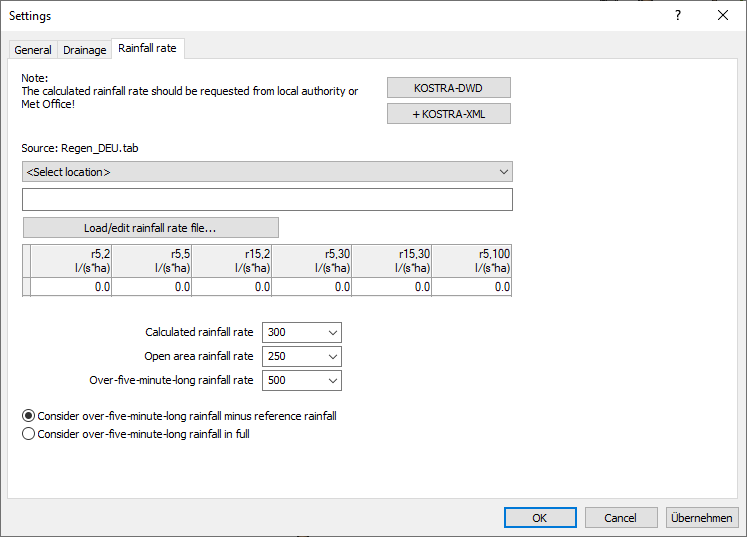
Shows step-by-step how to create an own location and enter its rainfall rate for the pipe network calculation Waste water.
Before you begin
You want to use the rainfall rate of a location which is not included in the rainfall rate file. The data are saved in the project.
Navigate to:

Procedure
- In the drop-down list, choose <Select location>.
- Enter a name for the location and the rainfall rates.
- Click Apply.
Results
The location and the rainfall rate are saved in the project.