Import Component List with ID Assignment
Shows step by step how to import component lists with ID assignment into Revit.
Before you begin
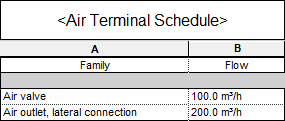
You have exported a component list from Revit to an Excel file. You have used the Worksharing-ID or Element-ID as Row identification. After editing the list, you want to import it back into Revit.
Requirements:
-
The file was originally exported from Revit using the row identification Worksharing-ID or Element-ID.
-
The file may not be open.
Navigate to:

Procedure
- Click Excel-Import in the section Interoperability.
- Select the XLSX file to import and click Open.
The dialog Default settings opens.
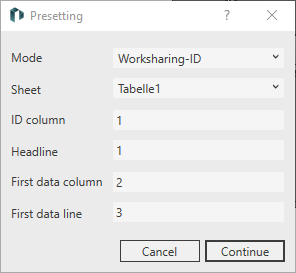
- Select the mode in which the component list was previously exported.
- Select the worksheet to be imported. Tip:
As the file was previously exported in the Mode Worksharing-ID or Element-ID, all other default settings are already correct.
- Click Peak flow rate....
The dialog Import: … opens.
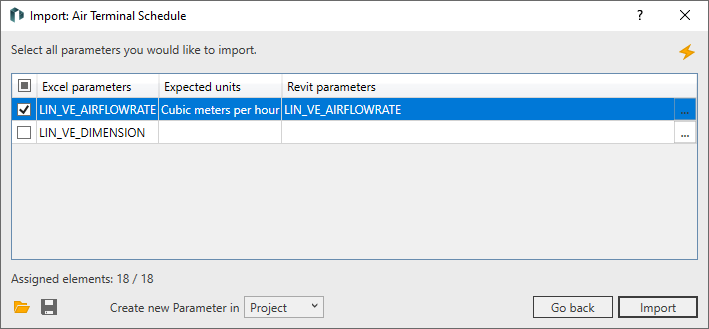
- To subsequently link all other Excel parameters with Revit parameters, you can
- try an automatic assignment of Excel parameters to Revit parameters by clicking on
 , or
, or - click on
 in the corresponding row of the Select parameters dialog to make a manual assignment.
Note: A prerequisite for the automatic assignment is an exact match of the parameter names between the Excel file and the Revit project. - try an automatic assignment of Excel parameters to Revit parameters by clicking on
- Select the Excel parameters that you want to import.
- Optional: Save the current configuration for re-use by clicking on
 .
. - Click Import.
Results
The values of the parameters from the Excel worksheet were imported.