Save and Update Parameters in Network Components
Shows step-by-step how to write export parameters to network components for collaboration purposes.
Before you begin
Write certain parameters directly to network components or update them so that they can be read and used when they are passed on to other project participants.
Requirement:
The pipe or duct network is completely detected and calculated.
Navigate to:
Applies to all disciplines.

Procedure
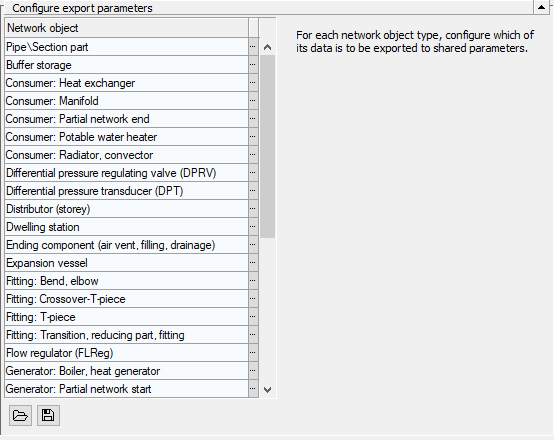
- In the line of the desired network objects, click
 Configure parameters for export.
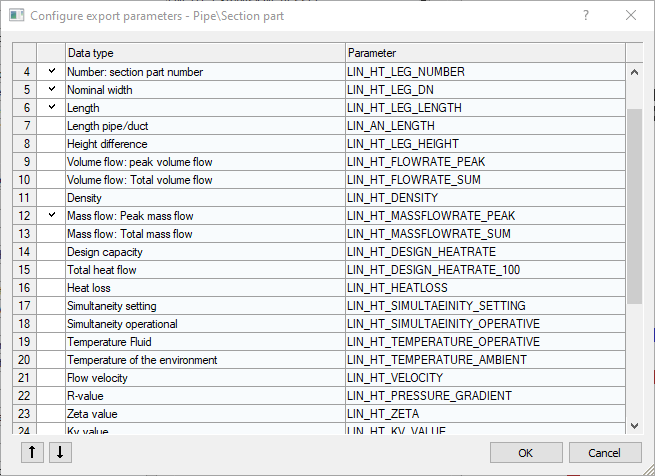
 The Configure export parameters dialog opens.

- Activate or deactivate the desired parameters and click OK.
- Click Save parameters in network components and confirm the following question with Yes. Note:
This step is calculation intensive and may take some time, especially for larger projects.
If you subsequently activate or deactivate parameters, repeat the above steps to write the parameters to the components with the new settings. Start a new calculation as well, so that unit settings and values are updated.
Results
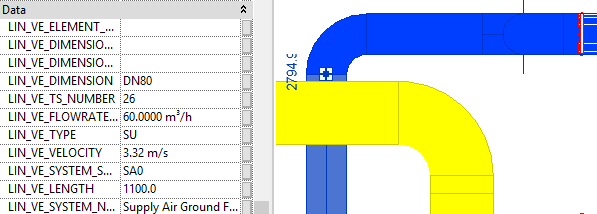
The parameters are written to the network components as configured.
