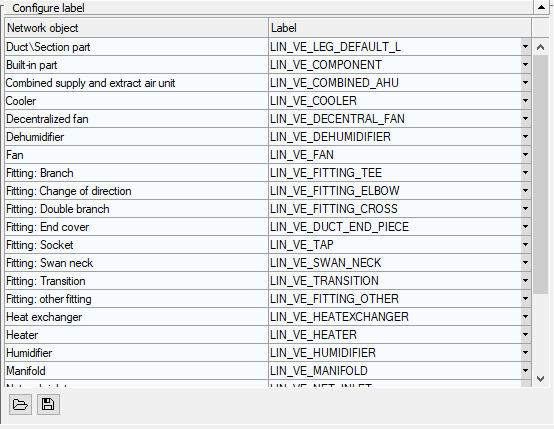
Assigning Label to Network Object
Shows step-by-step how to select an alternative label for a particular network object.
Before you begin
You want to use a different label than the default one.
Requirements:
In the directory of the default labels, an alternative label file is included.
Navigate to:
Applies to all disciplines.

Procedure
- In the left column, search for the network object, whose label you want to change.
- In the line of the desired network object, click
 Label option for the network object and then <Select file...>.
 The file explorer opens.
- Select your customized label file and click Open.
Results
The new label file is assigned to the network object and will be used for all future labels of the selected type of network object.