Outputting Calculation Data
Shows step-by-step how to print the calculation data of your pipe or duct network or how to export them as a file.
Before you begin
You either want to print the calculation data or export them as a file for further processing.
Requirement:
The pipe or duct network is completely detected and calculated.
Navigate to:
Applies to all disciplines.

Procedure
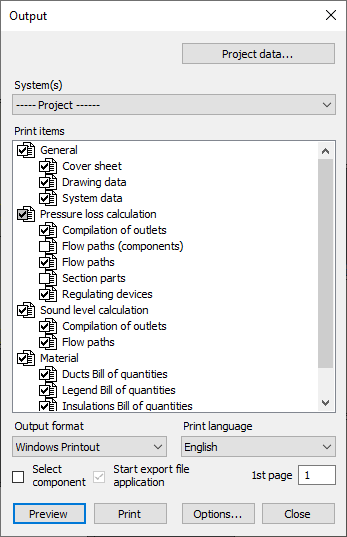
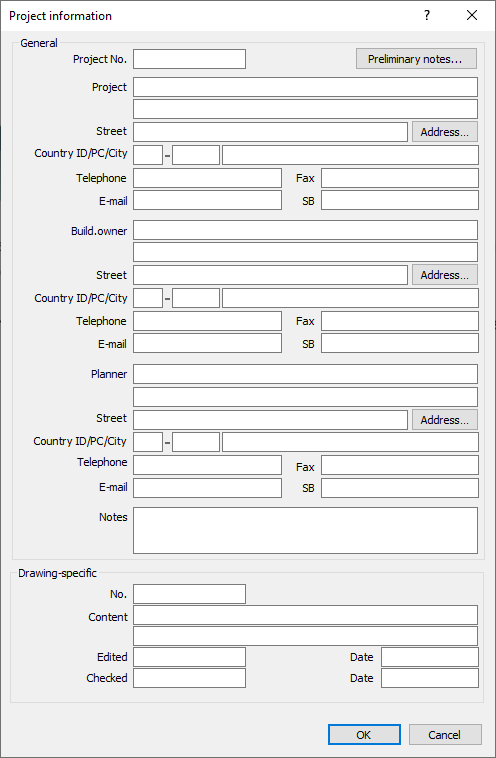
- If you want to enter project data four the output, click Project data....
The Project data dialog opens.

- Enter the desired project data. Clicking Address opens the LINEAR address database, from which you can import addresses into the project data.
- Click Preliminary notes to select or create preliminary notes that will be adopted in the printout.
- Click OK to close the Project data dialog.
- If there are multiple systems in the project, select the system for which you would like to create the output in the System(s) list.
- Select the desired print items.
- Select the output format.
The Windows Printout option can be given out as a preview before printing. The remaining options in this drop-down list offer a number of formats for export.
- If necessary, select a different print language.
- If necessary, make further settings and then click Print or Export.
Results
The calculation data are printed or saved including as configured.