Creating Building Parts and Assigning Storeys
Shows step-by-step how to create a new building part and assign the corresponding levels.
Before you begin
By creating building parts, you can organize levels and views for different building parts.
Requirements:
Your project already contains storey for each building part.
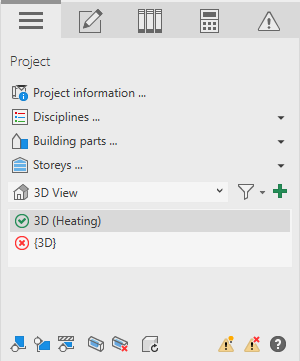
Navigate to:
Procedure
- Click Building parts …
The Building parts dialog opens. The Main building building part has already been created automatically and contains all levels contained in the project. The name of the building part can be changed by clicking it.
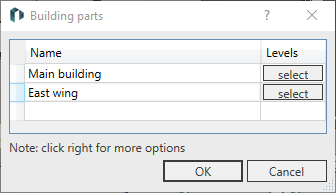
- Click a free line in the table to create a new building part.
- Enter the name of the new building part.
The new building part is created.
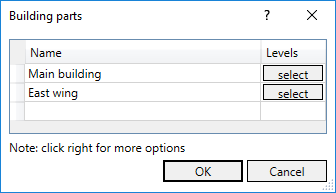
- In the line of a building part, click select.
- Activate the storeys of the selected building part in the selection list.
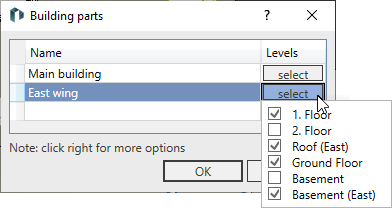
- Click next to the selection list to close it.
You can also assign individual rooms of a level to other parts of the building in the LINEAR properties of the respective MEP space.
- Repeat the process for all other building parts and close the dialog with OK.
Results
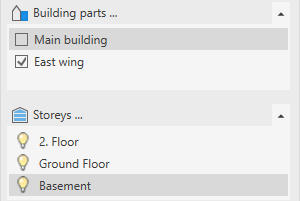
The building part is created and the storeys are assigned. If you select a building part in the Building parts section, the corresponding storeys are displayed in the Storeys area.
