Placing Void Proposals Manually
Shows step-by-step how to manually place void proposals.
Before you begin
You want to place void proposals manually and thus resolve collisions between pipe and duct networks and walls or ceilings.
Requirement:
All relevant disciplines are displayed via the view control.
Navigate to:
Procedure
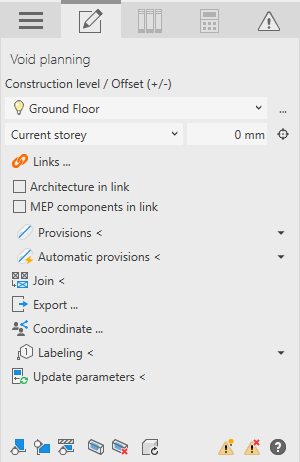
- Select the reference level in the Construction level/ Offset (+/-) section.
- Select the datum level. If the datum level conforms to the reference level, select Current storey.
- Enter an offset to the datum level.
If the component is to be located below the datum level, enter a negative offset.
- If the architecture or MEP components are in a linked file, select Architecture in link or MEP components in link.
- Open the Provision section.
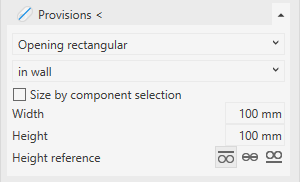
- Select the void type and the placement of the void.
- If necessary, deactivate Size by component selection.
- Enter the dimensions of the void.
- Select a height reference.
- Click Provisions <.
- Select the wall in which you want to place the void proposal and place the void.
Results
The void proposal is placed.
