Using Manual Pipe Offset
Shows step-by-step how to use the manual pipe offset for pipes that collide with other pipes, components or other elements such as columns or beams.
Before you begin
If pipes or ducts collide with other elements, the elements can be bypassed by a manual pipe offset to solve the collision.
Requirements:
-
The pipes collide with a component or with another element.
-
You are in a top view or in a section view.
Navigate to:
Applies to: heating, potable water, waste water, ventilation, cooling, gas, fire protection.

Initial situation:
Pipes collide with a component (isometric view, top view):


Procedure
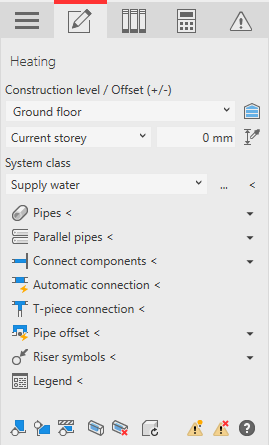
- Open the Pipe offset section.

- Select the bend angle to be used.
- Activate the Manual offset mode.
- Click Pipe offset <.
- Select the pipes which are to circumnavigate the obstacle and confirm by pressing Enter.
A guide to the procedure is displayed.

- Define the length of the offset via mouse click.
The reference points indicate the length of the component to be bypassed. However, you can also enter any length, a minimum length is automatically maintained due to the design.

- Use the mouse to show the distance that should be maintained between the component and the bypass and click there.

In a top view, the third mouse click describes the distance on the x-axis. In a section view, the third mouse click describes the distance on the y-axis. Depending on the design, a minimum distance is automatically maintained.
Results
The collision is resolved.

