Creating Construction Areas Manually
Shows step-by-step how to manually create construction areas independently of rooms.
Before you begin
Create construction areas as a basis for panel heating circuits and panel cooling circuits.
Requirement:
The current view is an area plan for the current storey.
Navigate to:
If your project already contains rooms or spaces, use the Area in room < function.
Procedure
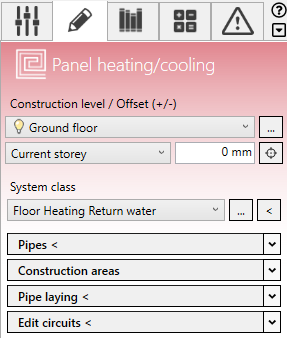
- Open the Construction areas section.

- Click Boundaries.
The Revit menu displays the Modify | Place Area Boundary tab and the Draw section.
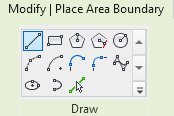
- Use the Revit drawing functions to construct the area boundary, such as a
 Line. The area boundary must be closed. Note:
In some Revit versions, the Revit drawing function
 Select lines is activated by default and you are prompted to select walls. This function is only conditionally suitable for constructing area boundaries. Instead, we recommend using the other Revit drawing functions, such as Line,
  Rectangle or
  Polygon.
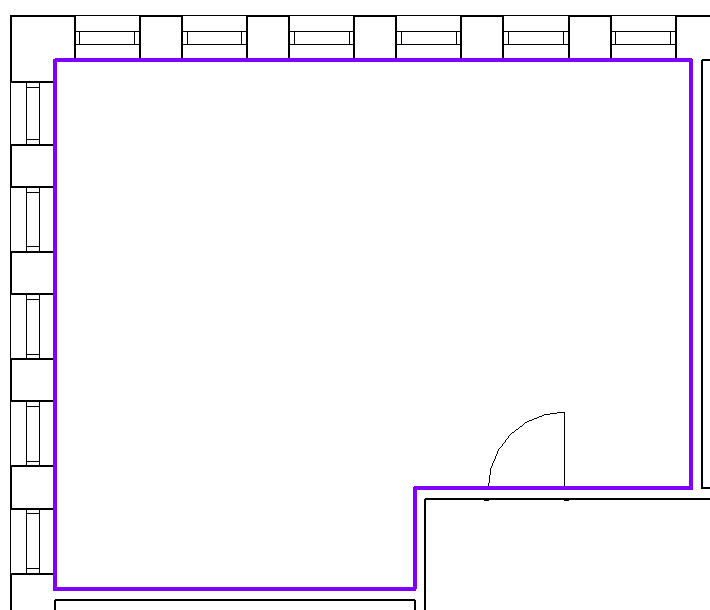
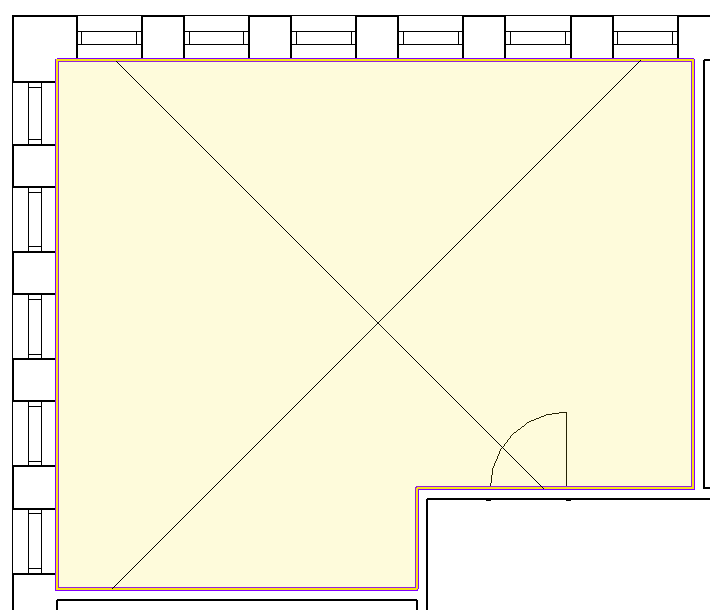
- In the Construction areas section, click Area <
- Move the cursor to the area boundary and click.
Results
The construction area is created.
What to do next
Using the Pipe laying < function , the construction area can be occupied with panel heating circuits or panel cooling circuits.