Constructing Walls
Shows step-by-step how to construct walls based on a 2D drawing.
Before you begin
The architecture is available as a 2D drawing. You want to reconstruct the walls of the building in 3D.
Requirements:
-
You have linked a 2D drawing to your model.
-
You have adjusted the storey height.
-
Your current view is the floor plan view of the storey on which the walls are to be constructed.
If you have created your project on the basis of the pre-installed LINEAR template, we recommend that you use the Architecture template to trace the 2D drawing when creating the floor plan. If you are not working on the basis of a LINEAR template, we recommend a shaded floor plan with semi-transparency.
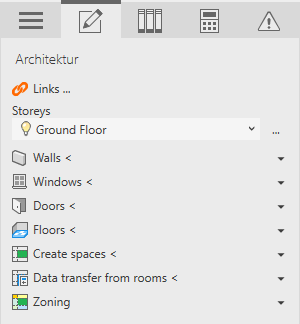
Navigate to:
Procedure
- Open the Walls section.
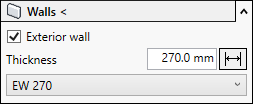
- If you want to construct an exterior wall, activate the Exterior wall check box.
- You can set the wall thickness as follows:
- Click
 Get dimension to measure the thickness of the wall to be drawn.
 - Enter the wall thickness in the text box.
- Select a wall type from the drop-down list.
- Click
- Click Walls < and construct the corresponding walls. Tip:
-
As soon as the function is enabled, you can enable the Select lines option in the Revit menu ribbon under . You can then use the tabulator key to select the complete course of the wall and create it with one click. In the options of this function under Baseline, select the Structural Layer entry: Outer edge.
-
Inaccurately constructed walls can be corrected with the Revit functions of the Modify tab in the Revit Ribbon.
-
Results
The walls are constructed at the correct height, connected and marked as bounding the room.
