Configuring Window Shading
Shows step-by-step how to configure shading for the windows in your project.
Before you begin
External shading is planned for the windows of your project. You would like to display these in the program and take them into account for the cooling load calculation.
Navigate to:

Procedure
- Click in the Calculation data section under EAC (only CDD/CDP) on
 .
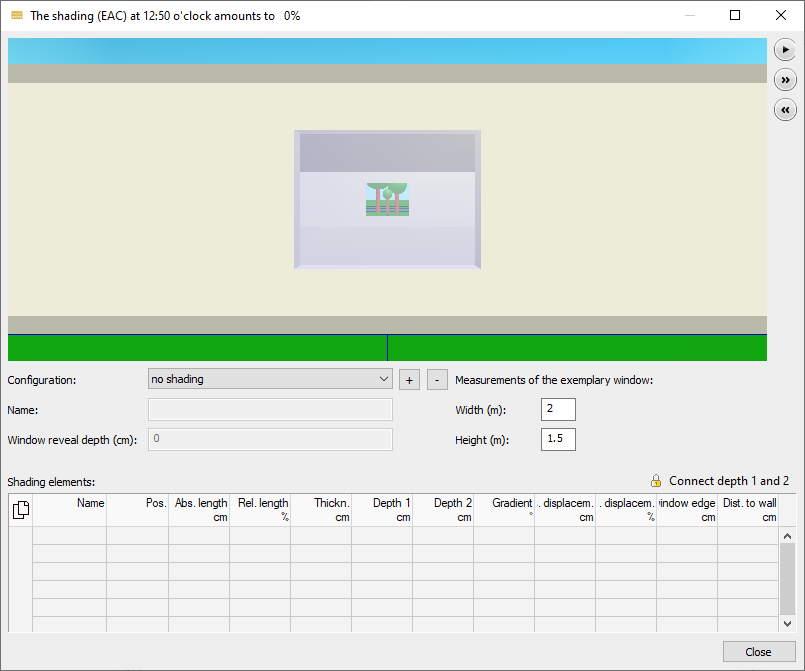
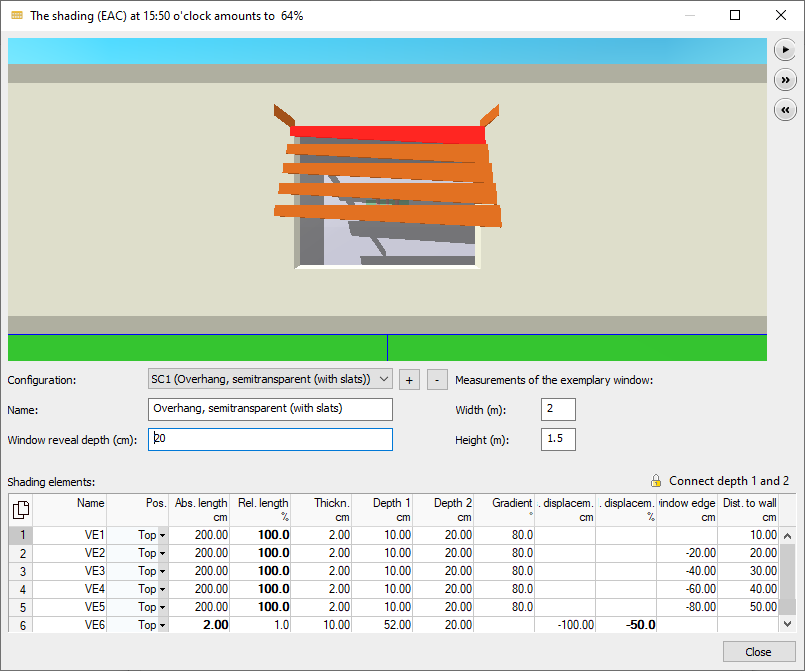
. The Shading (EAC) (...) dialog opens.
- Click beside the Configuration dropdown list on
 and give the configuration a Designation.
 - In the Shading elements table, click in an empty line to create the first shading element.
- In the Position column, select the position of the element.
- In the Length relative % column, enter in percent how long the shading element is to be relative to the window width.
125% relative width for a 1m wide window will be 1.25m.
- In the Depth 1 column, enter the depth of the shading element.
By default, a shading element has the same depth at both ends. Click on the lock in front of Connect depth 1 and depth 2 to be able to enter different values.
- In the Window distance column, enter the distance of the shading element relative to the horizontal or vertical window edge.
- Positive values place the element outside the window, negative values place the element above the glass surface.
- Optional: Add the remaining parameters.
- Repeat the process for all the window’s shading elements.
Results
The shading configuration is set as desired and can be used in the window configuration.
