Manually Assigning Classifications
Shows step by step how to assign a classification to components.
Before you begin
Do you want to manually assign a classification to components of your model?
Requirement:
The current view contains all the components you want to classify. If the view contains other components that you do not want to classify, before starting the function you can select the components to be processed.
Navigate to:
Procedure
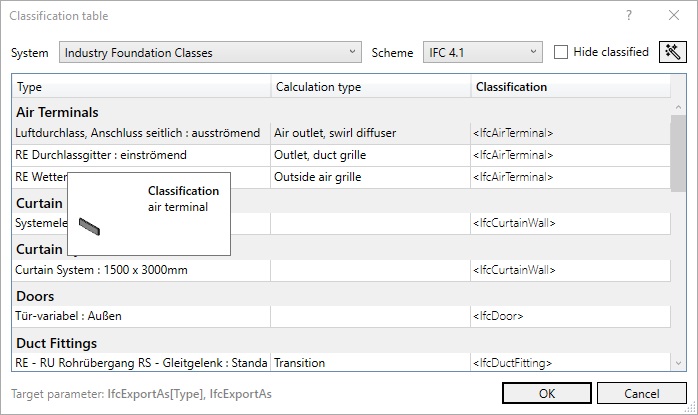
- Select the System and the Scheme.
- Select all the lines you want to assign the same classification.
- Click the right mouse button.
The context menu opens.
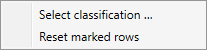
- Select Select classification ....
The Select classification dialog opens.
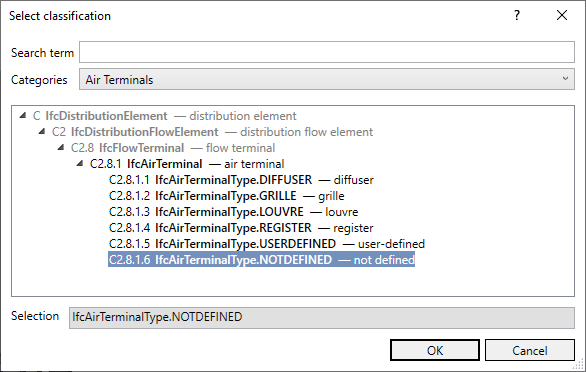
- Select the classification you want to assign and click OK.
- Repeat the steps 2 to 5 as necessary to assign different classifications to more components.
- Confirm the Select classification dialog with OK.
Results
You have now classified the components.