Drawing in Laying Areas for Panel Heating/Cooling
Shows step-by-step how to draw in laying areas for panel heating/cooling in AutoCAD.
Before you begin
You would like to draw laying areas for panel heating/cooling in AutoCAD, in order to subsequently insert panel heating and cooling systems.
Requirements:
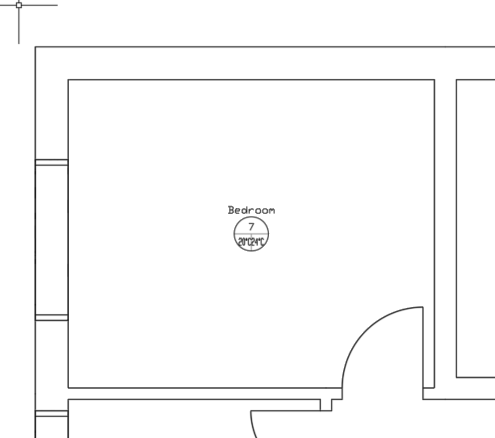
You defined room contours for the rooms in which you would like to draw in the laying areas.
Navigate to:
Procedure
- Set a top view of the desired room.
- Select the command Area <.
- Activate the object snap and select a corner of the room with the mouse. Note: In rectangular rooms, you can install a laying area for the entire room by clicking the mouse in the diagonally opposite corners of the room. The program asks for confirmation if it is a rectangular room.The starting point for the laying area is selected.
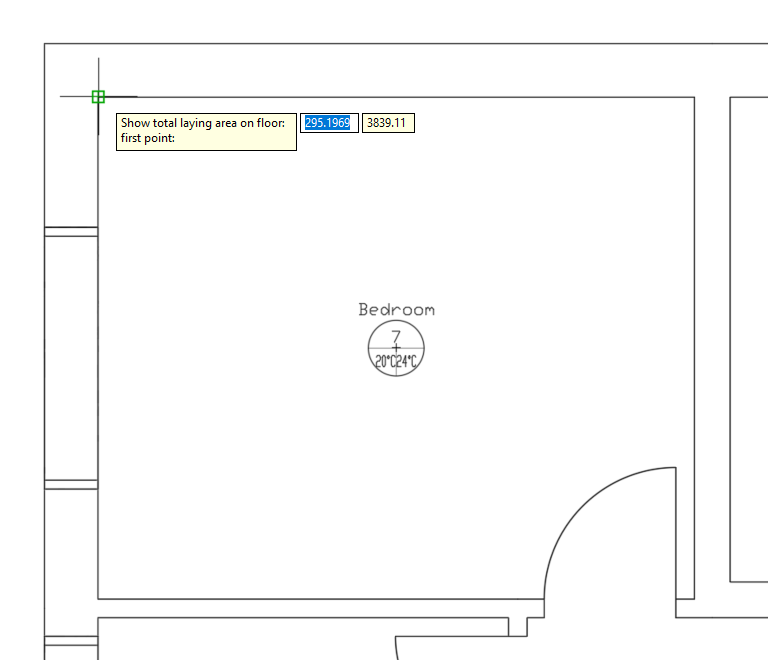
- Select all corners of the room contour one after the other to define the laying area. Note: You can also define the laying area deviating from the room contour by selecting points on the free area by mouse clicks.
- Finally, click the starting point to complete the contour of the laying area.
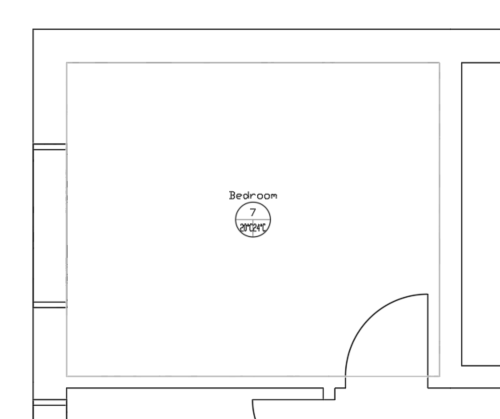
- Confirm the entry with Enter to create the laying area. The laying area is displayed as a gray frame in the room.
Results
The laying area has been created and you can now insert a panel heating/panel cooling system into this area. If you mark the laying area, it will be displayed including grips. At the grips you can modify the laying area afterwards.
